
A year ago today, Brent and I signed what felt like a million pieces of paper during a hour long meeting and when we reached the end we received a set of keys to our first home! I can remember all the excitement that we felt that day, so much so that we immediately moved in that weekend – completely forgoing our initial plan to wait a month and paint first, slowing moving during that time. The initial plan was developed to make sure that we were not taking on more than we could handle. Well, we said screw it, and a couple hours after closing the U-Haul was rented and we were moving!
Since the day we took ownership of this house it has felt like home. It’s been here for us throughout all the storms and sunny days. Now it provides us our very own safe bubble for quarantine (couldn’t imagine we would need to be doing this right now). Let me tell you though – our home has never been cleaner (anyone feel me on that ?)!
As I write this post I realize how much I truly appreciate this home. The comfort it brings. The love it holds. Everything – including the dog fur tumbleweeds!
Who has heard of the Front Porch Project? This was started by photographers going to take family portraits outside a clients home while maintaining a safe social distance. As COVID-19 progressed and it became unsafe to do this any longer (I didn’t have a chance to do any sessions, though I wish I could have). It got me thinking that even though I cant do this right now, I can give a few tips on taking your own at home! These photos will serve as a memory of this time that I know that I will cherish for years to come!

Step 1: Set expectations – Make sure your family/significant other/dog etc understands that this will take time. When I planned ours I told my husband to plan for an hour. I learned the hard way that expectations need to be set in advance when I attempted to do our holiday card photo and it took wayyyyyyy longer than he anticipated.
Step 2: Gather supplies – any camera, remote trigger (if you have one, note: apple watch will act as a remote trigger for an iPhone and you can even see what the image will look like before you trigger the camera) – if you don’t have a remote trigger try it out with the camera timer! A tripod or something to prop your camera on is also immensely helpful here!
These are best done when the location for the photo is in open shade (full shade where you can look straight up and see the sky). Open shade is ideal because it provides even light for everything in the photo and eliminates funky shadows and hot spots. (Shout out to Amy & Jordan for teaching me this – its a game changer!!)
Step 3: Set everything up! Get your family in place and make sure they know that when you say go (press remote trigger button or press start on your camera timer) that they should be smiling and if using a timer on your camera make sure others in the photo know where you will be jumping in!
Step 4: Take lots of shots! Trial and Error is certainly necessary here. There is no perfect way to do this, no right or wrong!
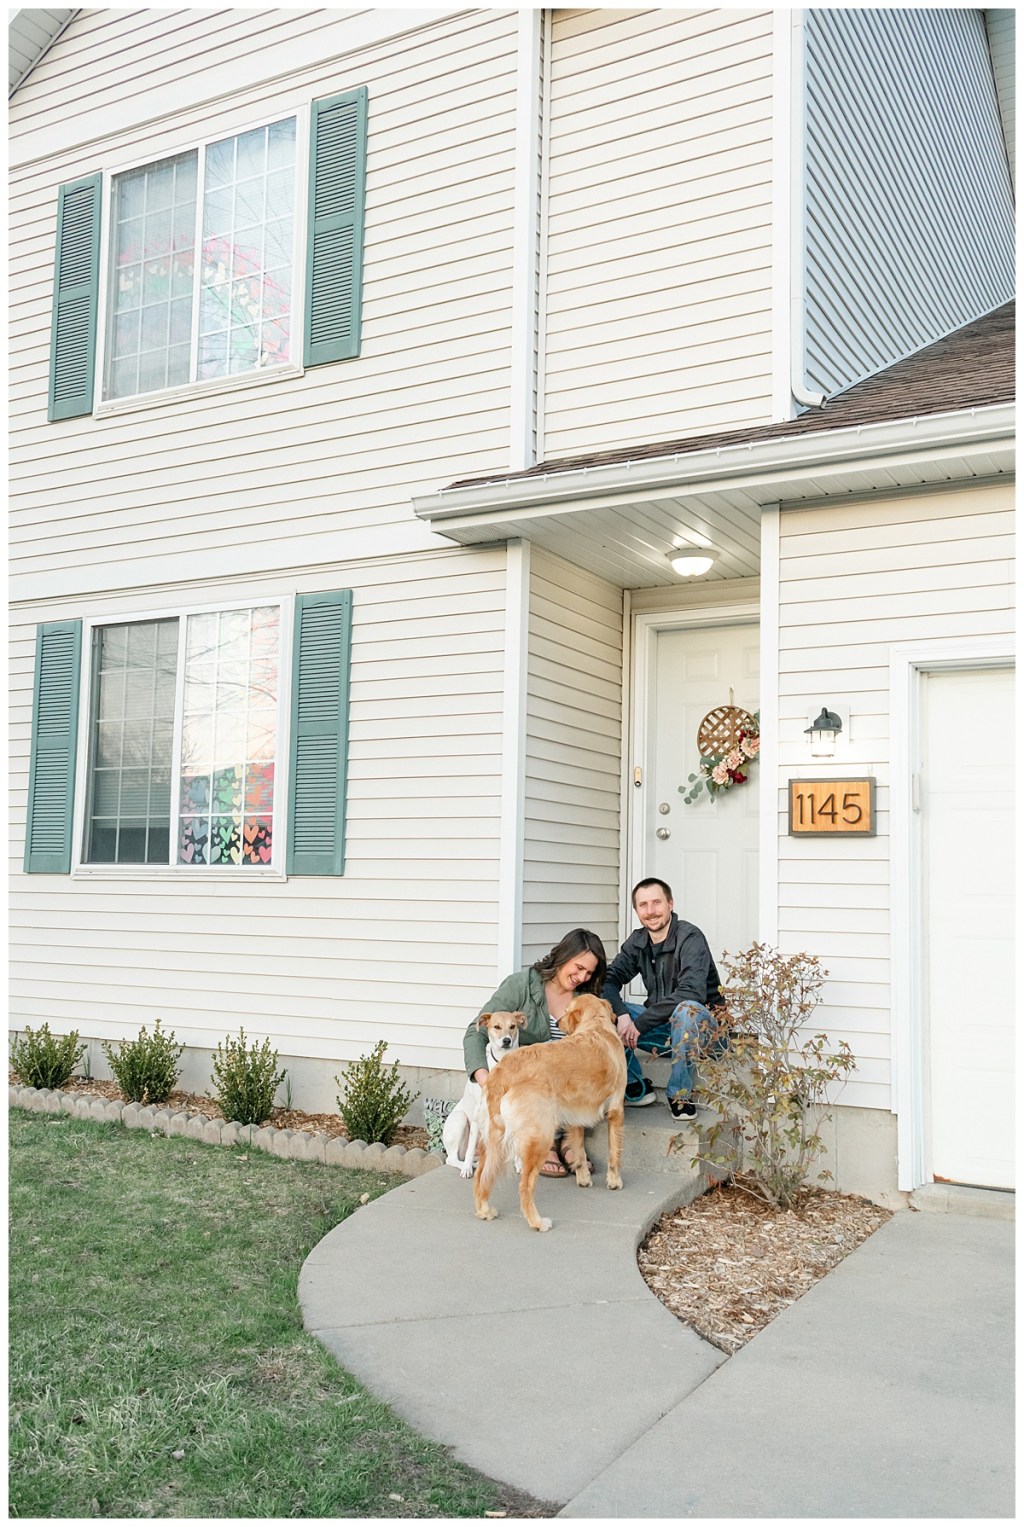
Step 5: Give yourself a little grace! It took me over 15 tries to get these 3 photos! Also consider that taking a photo of everyone interacting together (not all smiling at the camera) may be easier, like in our case where our golden retriever, Royal, would not sit! This photo actually turned out to be my fave of the 3!

I hope that this information has been helpful! Enjoy taking your own front porch family photos!
Stay tuned for more!
Best,
Jen

Leave a comment